
I saw something on light painting about 6 months ago and was intrigued. Not sure I could really accomplish it at the time, I submitted it as a Daily Create challenge and hoped I’d try it when it came up again. (I’m not sure it ever did; I’ve been a bit disconnected for a good part of the summer.)
Then last week, as a part of the Making Learning Connected MOOC (CLMOOC) that I’m involved in, a “storytelling with light” make popped up, and naturally, I thought “Light painting!”
So the first thing I did was watch a ton of light painting tutorials and looked at a bunch of examples.
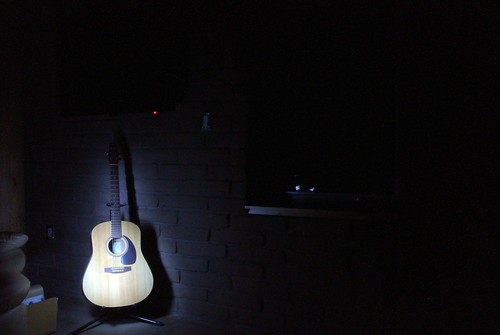
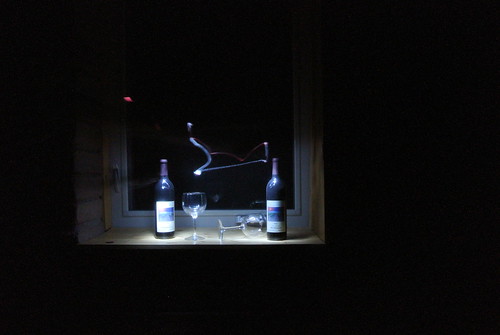
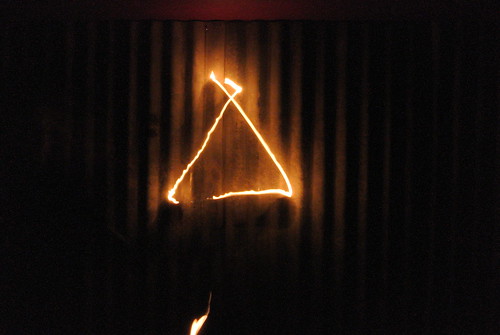
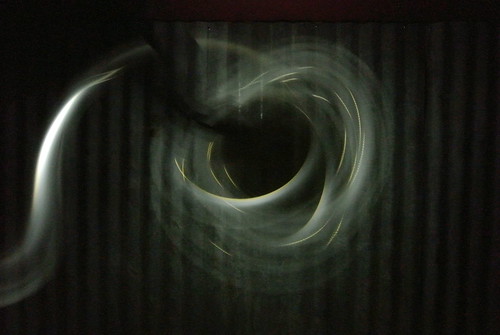
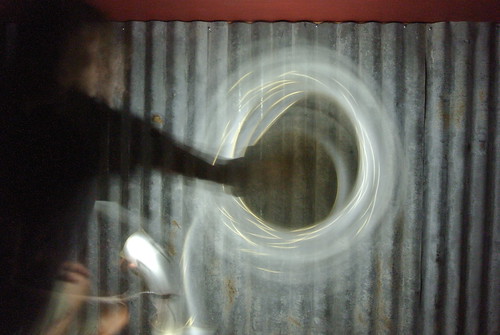
One thing I learned is that there are at least three different kinds of light painting. All involve long exposures. The one I’d always thought of was where you draw a picture or write a word with light; this is apparently called light drawing. The second is where you actually “paint” an object with light creating a spotlight kind of effect. (It wasn’t until I did this that I actually understood the “painting” aspect of this craft. A guy in one video I watched called his flashlight his “brush.”) The third type involves moving the camera to create a motion effect. (In this case, the camera is the “brush.”)
Armed and inspired with all this information, I decided I’d first try to get the basic technique down (and see if this work for me at all) and then would think about storytelling later. (More on that in a subsequent post.)
All you really need to do this is a camera that lets you manually set aperture and exposure time, a tripod, and a light source. The light source could be a flashlight, a laser pen, LED lights, a lighter, or anything burning.
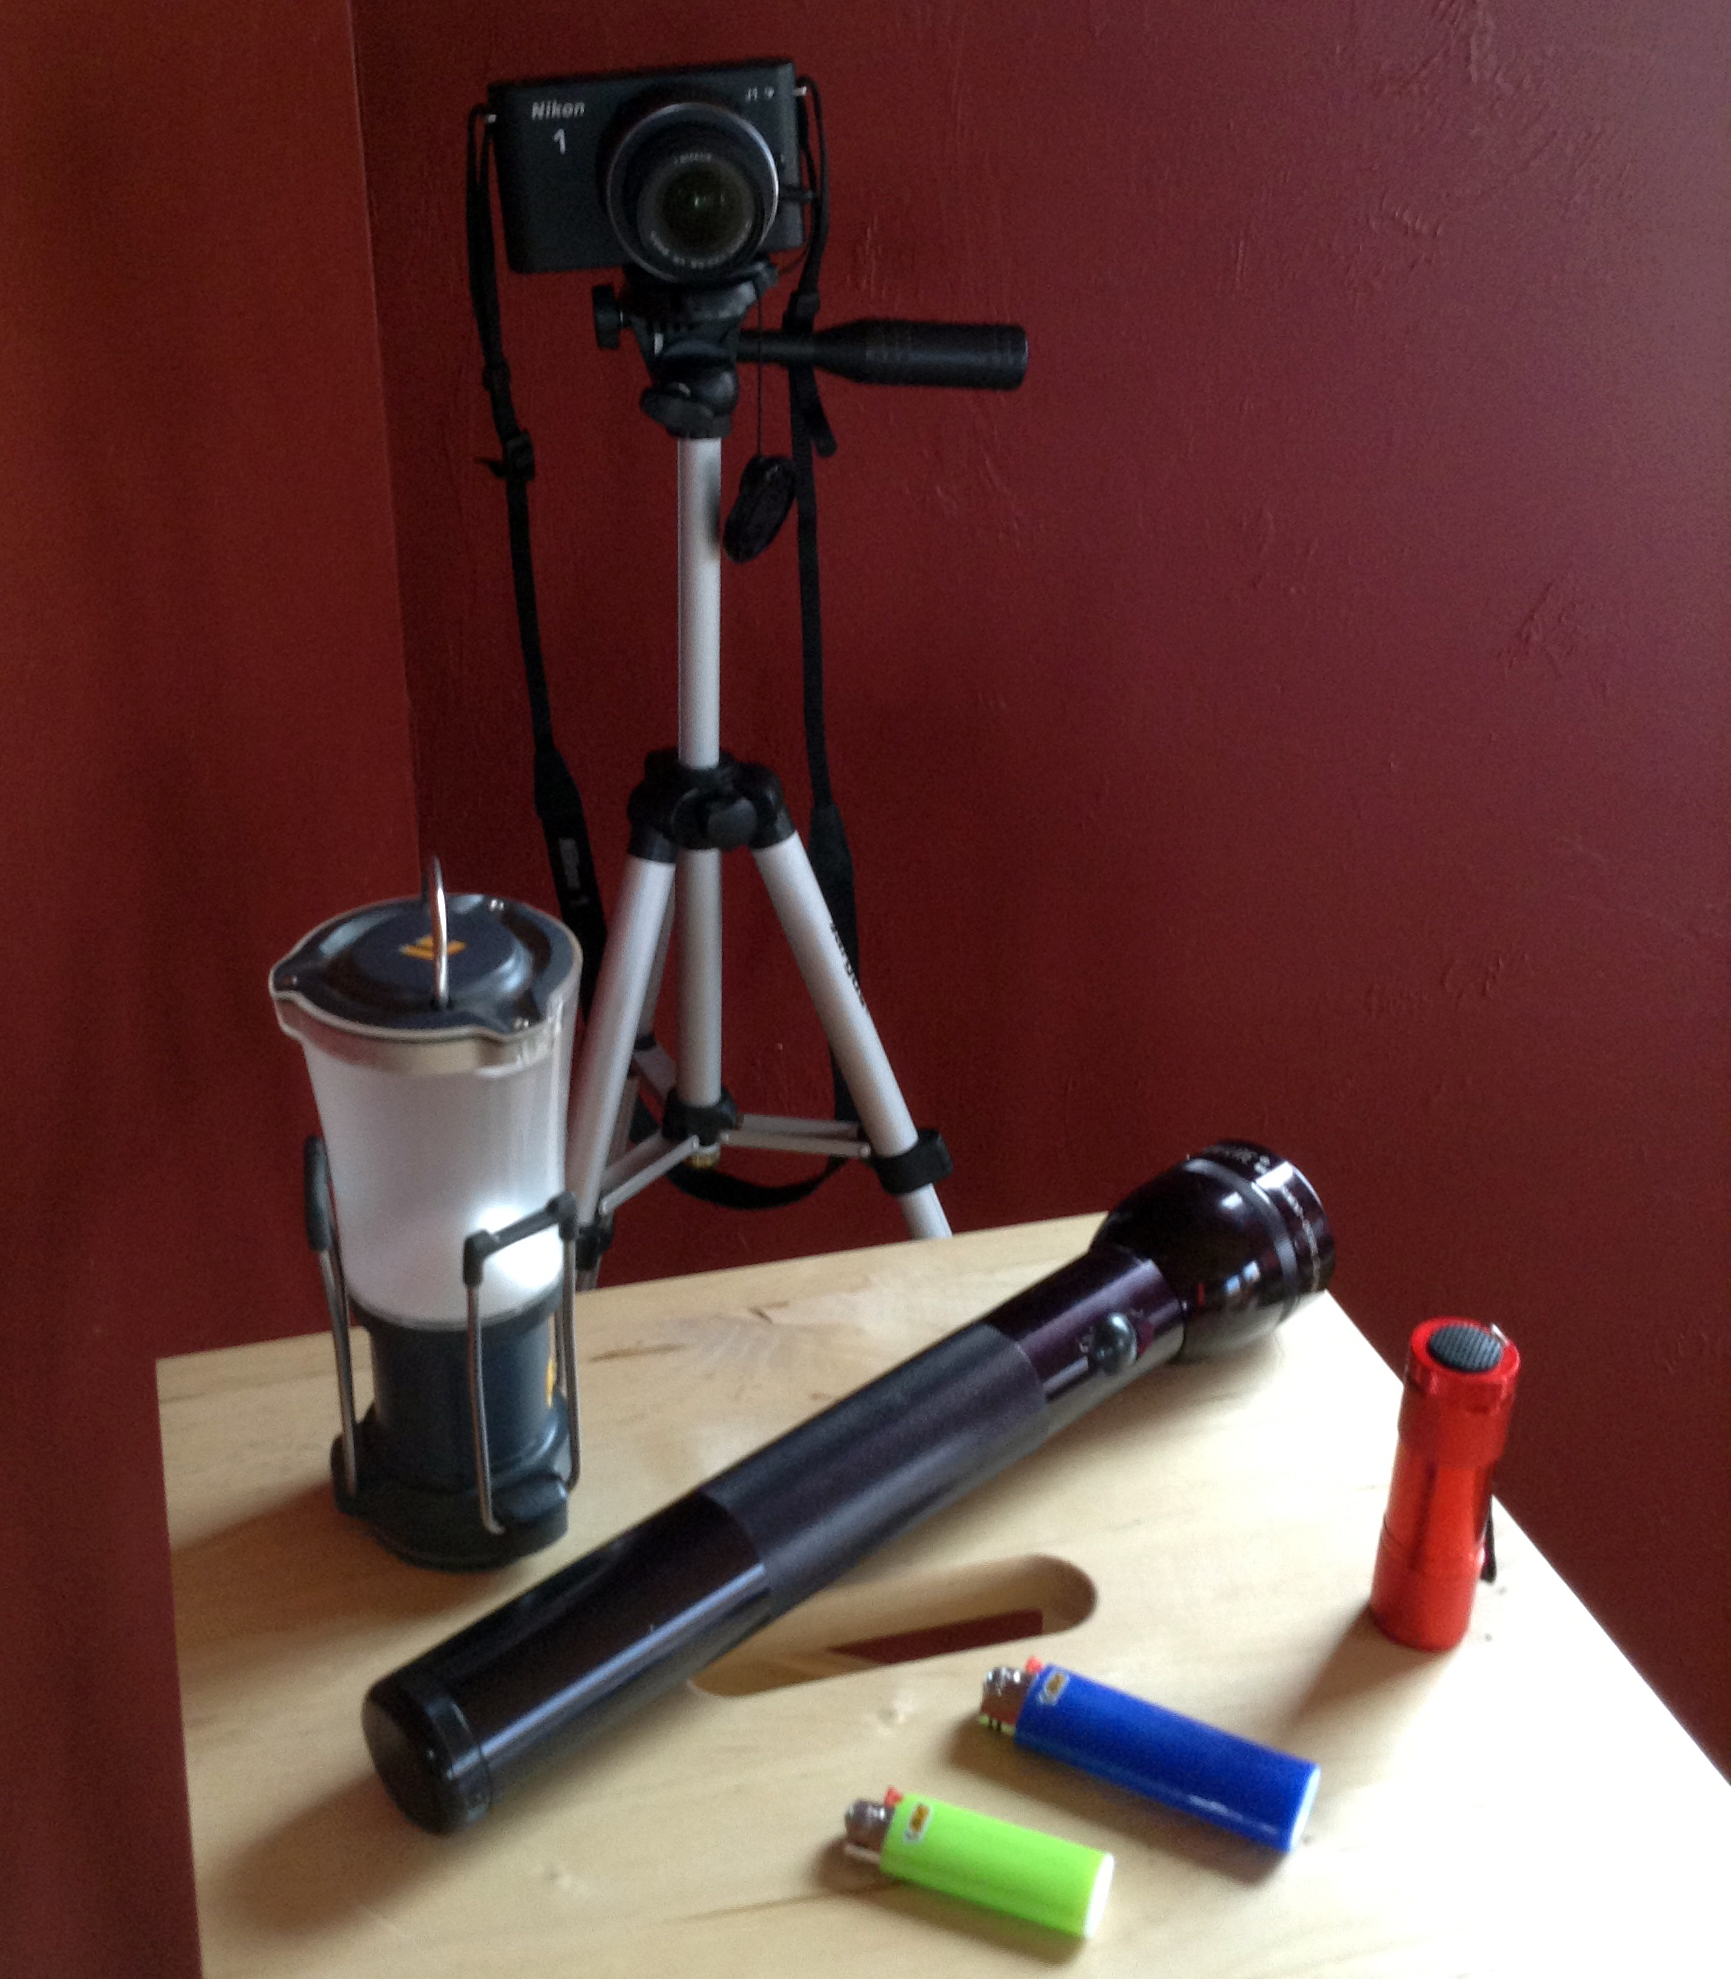
I used my new Nikon 1 J1 camera with manual settings of F16 and an exposure of 30 seconds. (Toward the end of this session, when I was more confident, I shortened the exposure time for a few shots.) I also found it useful to have two people, since there is a lot of switching of lights off and on and shuffling around in the dark.
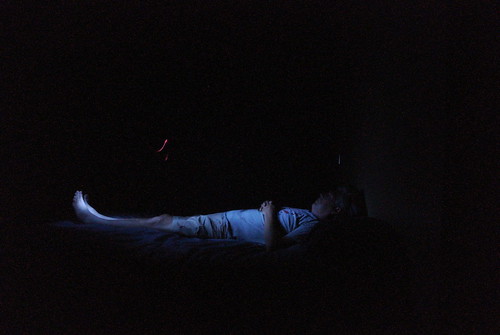
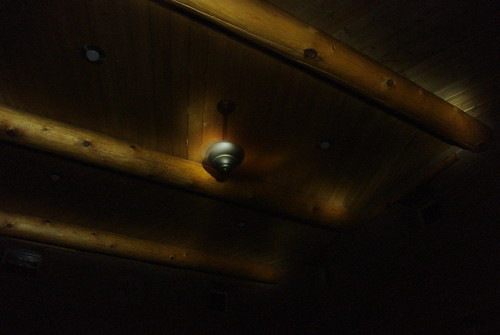
The first thing I tried was the second kind of light painting where an object is illuminated by painting it with light. (Note: For the purposes of this experiment, none of these photos have been retouched.)
I was pretty amazed by the first results.
Also I have to say that while you can do this with a digital or film camera, having the immediate feedback of digital was incredibly powerful. It allowed for a lot more play, experimentation, and iteration.
Then I moved on to light drawing.

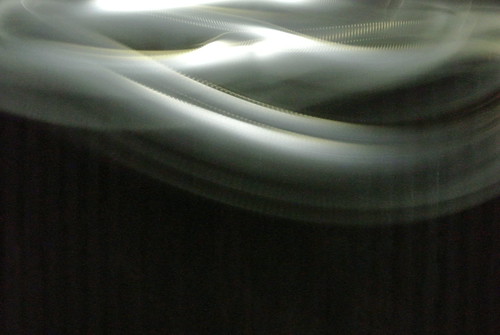
Finally, a few other random trials.
After this, Brad and I talked for a long time about all the different things we want to try with this. We also brainstormed some storytelling ideas, as well as some thoughts about combining this with stop motion. Lots to think about and lots to try. Stay tuned for more adventures in light painting.
More experiments on this here.
Pingback:Light painting – part 2 - K12 Open Ed